Why should you cook a beef brisket? Typically beef brisket is more economical … and tends to be cheaper than other cuts of beef. And when done properly, cooking juicy tender brisket is very simple!
Before we begin you should know that fatty meats have been the cornerstone of my low carb ‘diabetes diet‘ for the entire 12+ years that I have been successfully self-treating diabetes. I have learned a few things over the years and one of them is … fatty meats are truly diabetic friendly.
This post will show you how to simply prepare and cook a tender, juicy and delicious beef brisket.
The pictures in this post were made cooking the brisket in a Romertopf clay pot, more on the clay pot in the next section. We’ve used these same methods and cooking temperatures to successfully cook a brisket in tinfoil and parchment paper as well.
We have now cooked five briskets using these cooking methods, some in the Romertopf clay pot and some in tinfoil and parchment paper. All of them have been tender and juicy.
From these experiences, I think the three most important pieces to the puzzle of cooking brisket are searing the meat, cooking for 5+ hours at 220F and covering the meat to help retain the juices.
Romertopf Clay Pot Intro
We’ve rediscovered cooking in clay …The Romertopf clay pot.
A clay pot is just that, a pot made of clay. No worries, it’s guaranteed to be ‘oven safe’.
There are several clay pots that you can use to bake in, but the Romertopf is a well respected brand, and the one we use. Click this link to view Romertopf on Amazon.
Note: I find the description on Amazon humorous. It mentions low fat healthy cooking as one of the main benefits. High fat eating is very healthy, as long as you are eating the right fats… like I do. :)
Cooking Juicy Tender Brisket… every time.
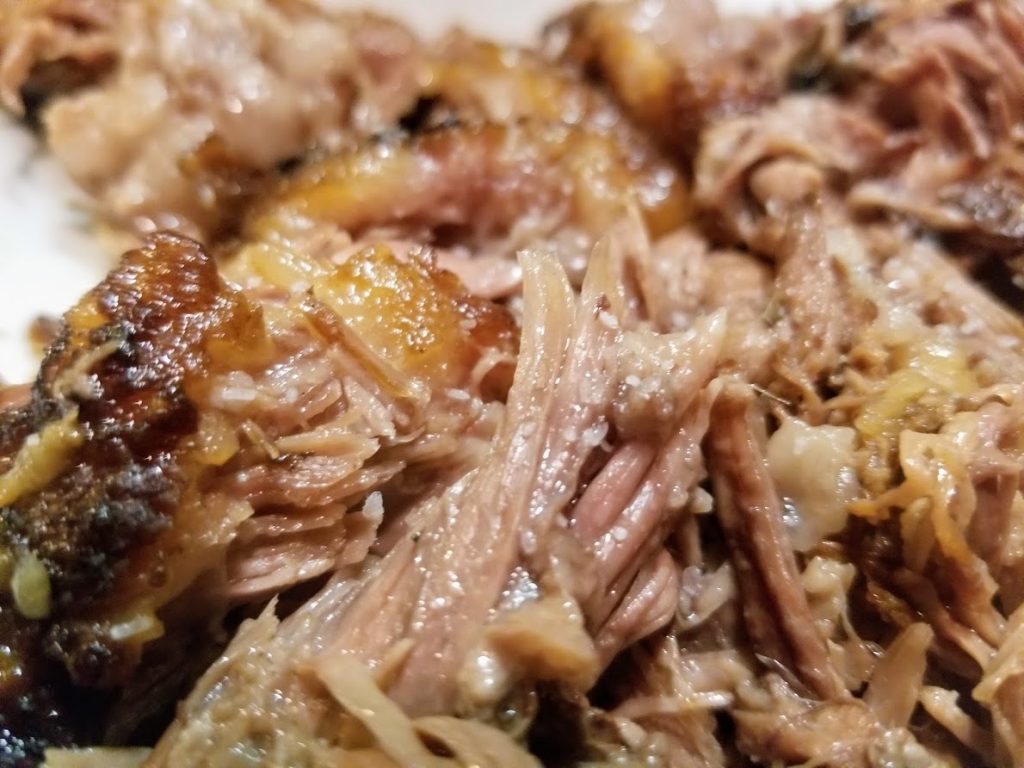
When it comes to fatty meats, there are few cuts fattier than beef brisket. Just look at the pictures in this post … how could this be MORE delicious, MORE juicy, or MORE tender???
After cooking the beef brisket in the clay pot, the meat is so tender. No knives were used in cutting the brisket… it’s so tender you can eat it with your fingers.
This brisket is TRULY the best beef brisket I have ever had.
I am not saying it’s the best EVER in the history of humanity. I say this because I know at least a few Texans will vehemently disagree with me … on principle alone. 😂
Cooking Steps
Note: These instructions are based on 3-5 lb portions of brisket. If you are cooking a whole brisket, cooking times *may* need to be adjusted longer.
Step 1 – Soak the clay pot in water for about 20 minutes. Place in the sink and cover it in water while adding spices to the meat.
Step 2 – Prepare seasonings. We caramelize (2) small onions and (3) cloves of garlic, setting them aside to sear the meat.
Step 3 – Sear the meat, top, bottom and sides. Turn the burner on medium high and sear the meat in a black cast iron skillet for just a minute. You can see the brisket below after it has been seared and placed in the clay pot.
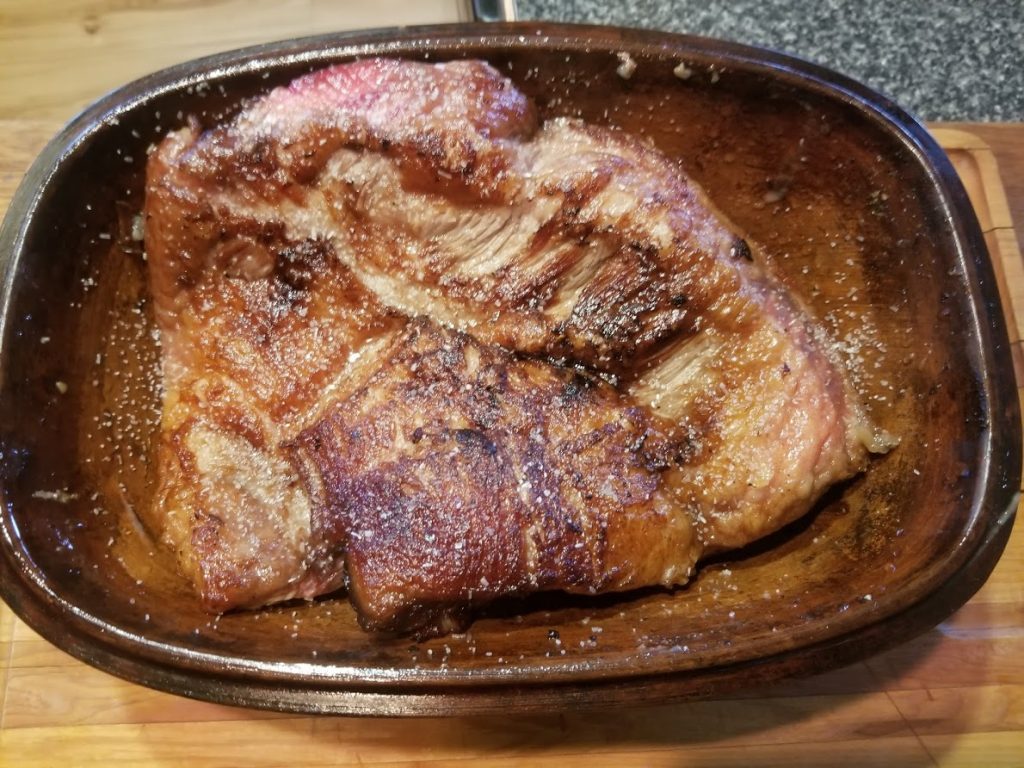
Step 4 – After searing the meat and placing into the clay pot, add any spices or flavorings. We use only coarse ground sea salt, peppercorn medley and the combination of garlic and onions.
Step 5 – Place the brisket in the oven, warm up to 450F, once oven is up to temp, reduce oven temp to 220F.
Cook for at least 5 hours at 220F. Since you are cooking the beef brisket in the enclosed clay pot at such low temps, over cooking isn’t really a concern. Our first brisket was cooked for 5 1/2 hours and our last one was cooked only 5 hours … there was no difference in the roasts.
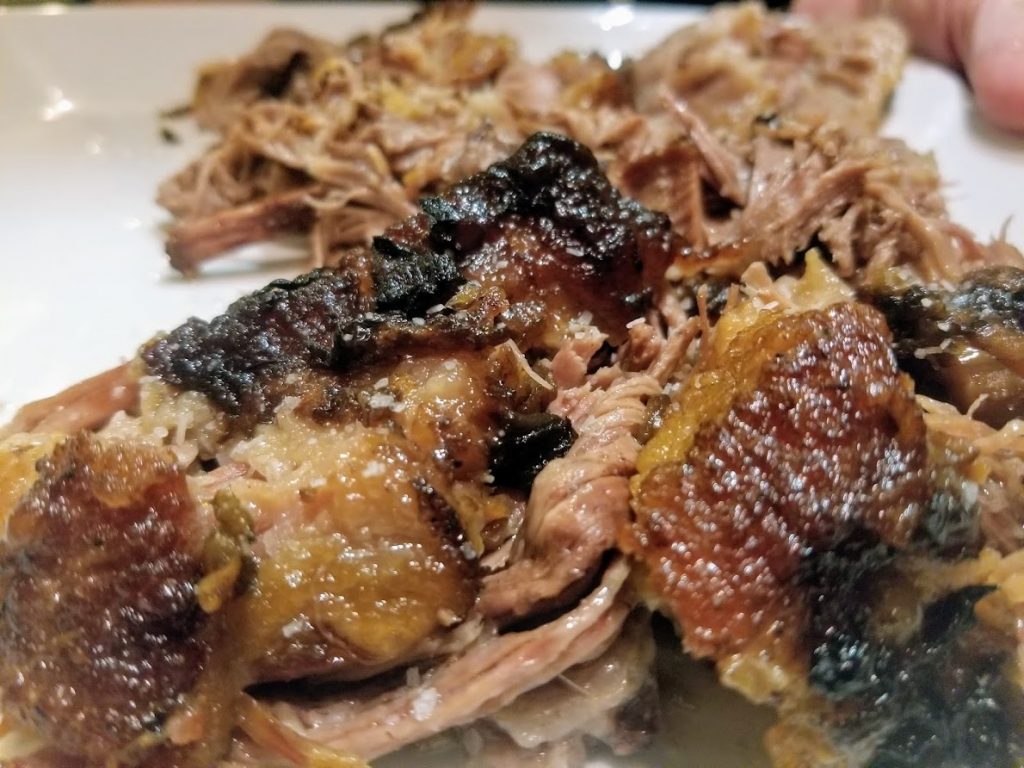
Step 6 – Let the roast rest for 5-10 minutes. I feel compelled to write the previous sentence… just know that I rarely abide by that recommendation myself. :)
Below is a picture as it came out of the clay pot after 5 hours.
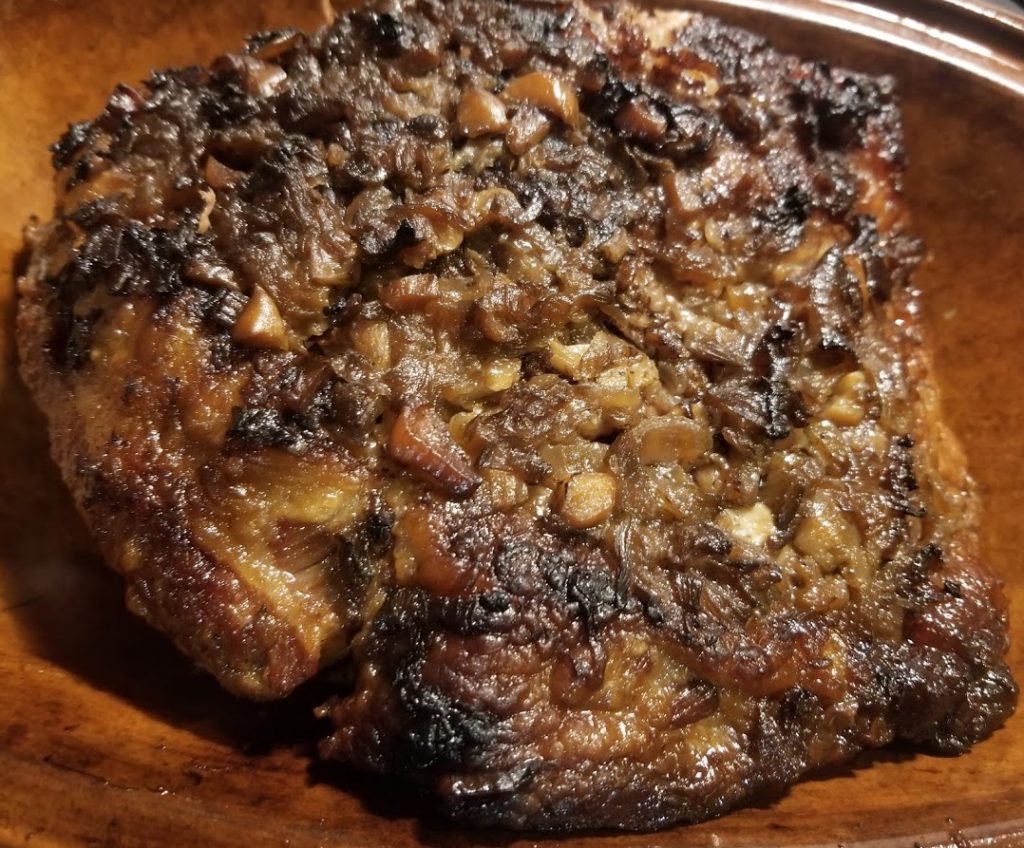
…. damn I’m getting hungry again. :)
Clay Pot vs Tinfoil and Parchment Paper
I prefer using a clay pot for cooking brisket rather than tinfoil and parchment paper. Why?
Ease of use. It’s so simple, no wrapping in tinfoil or parchment paper, etc. And when cooking at lower temps, I’m not as concerned with overcooking.
Clean up is a breeze. You don’t have to deal with discarding tinfoil or cleaning greasy burnt pans. Simply pour off the broth and fat into containers for later use… and rinse and wipe out the pot.
You cook at low temperatures so there’s no burning, no scraping, no scrubbing!
Cooking with tinfoil: Having said all of the above, the last two briskets we’ve cooked have been using tinfoil and parchment paper… and with great success.
We followed the exact same cooking instructions and the briskets were tender and juicy.
Eat Fatty Meats (I do)
Brisket, when cooked properly is juicy, delicious and tender.
I have experimented with different methods and as mentioned earlier, the best methods contain three main components.
1 – Searing the meat before baking.
2 – Cooking the meat long and at lower temps.
3 – Covering to lock in the moisture. This can be achieved with a lid, or wrapped in tinfoil and parchment paper.
Brisket is a favorite ‘fatty meat’ because of it’s flavor and it’s more inexpensive. Price is more important these days of escalating meat prices…
Brisket is a win, win, win! And remember … fatty meats are diabetic friendly!
Lower Your Blood Sugar Naturally
If your blood sugars are elevated and you cannot achieve truly normal blood sugars with diet alone…
BUY MY BOOK! How to Reduce Blood Sugars.